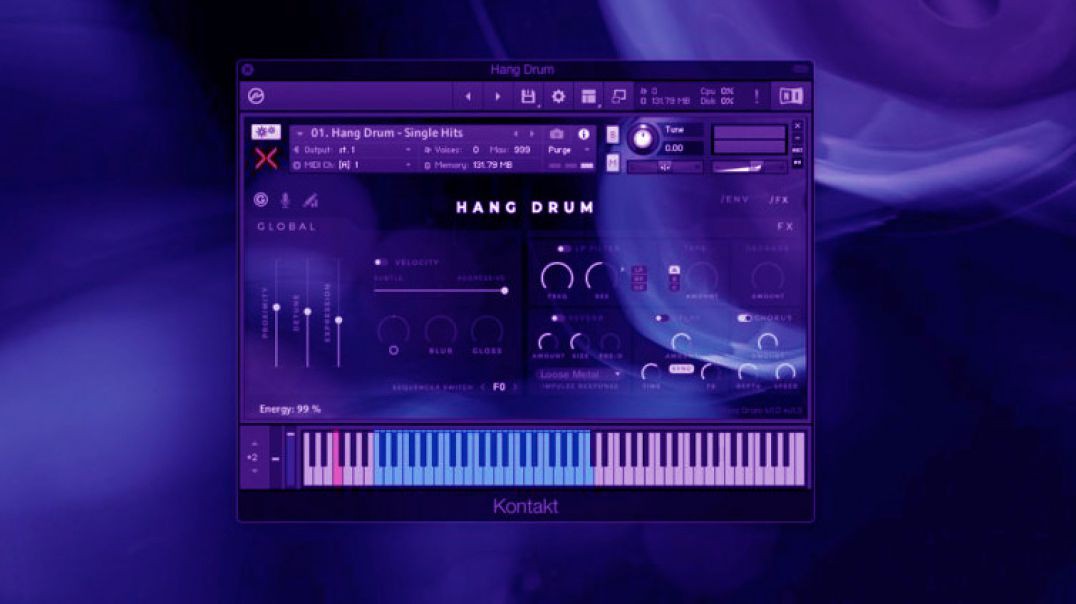


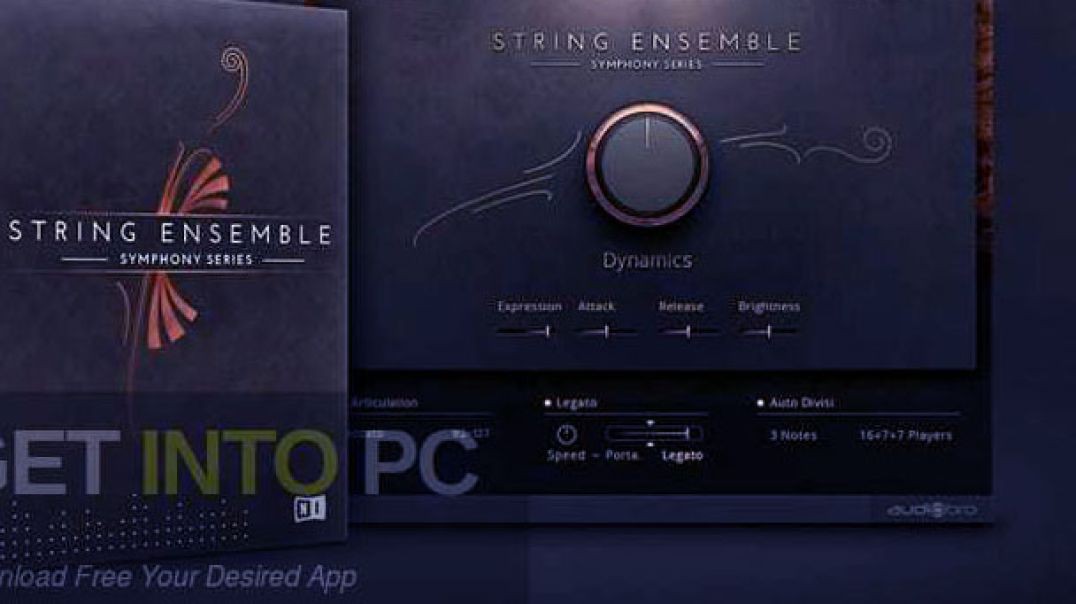
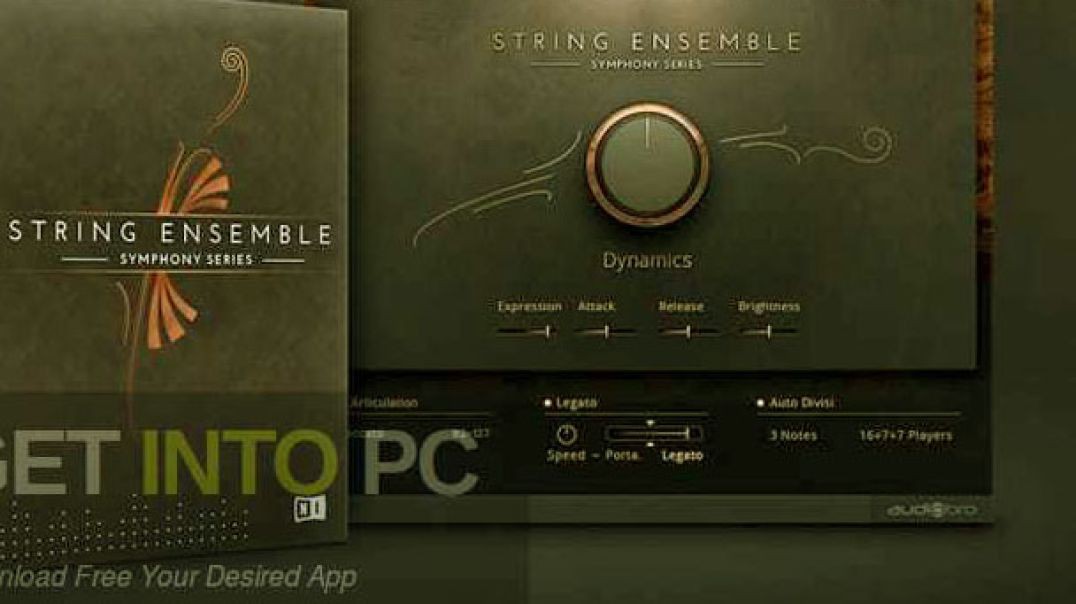


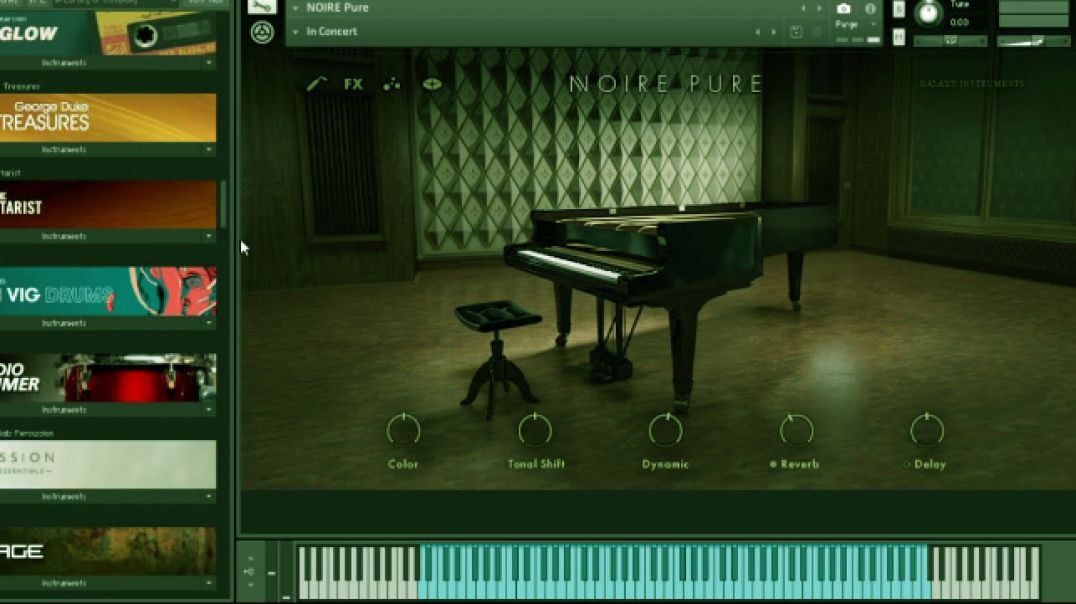

Native Instruments – Kinetic Kontakt Library Download
For music producers and vocalists striving for top-tier sound quality, the AutoTune Bundle Pro X 2024 is an essential tool. This guide will walk you through the step-by-step process of downloading and installing AutoTune Bundle Pro X 2024, ensuring a smooth and efficient setup. Additionally, we'll introduce Native Instruments – Karriem Riggins Drums, a versatile drum software that complements AutoTune and enhances your music production experience.
Why Choose AutoTune Bundle Pro X 2024?
AutoTune Bundle Pro X 2024 is renowned for its advanced pitch correction and vocal https://soundbanks.io/product/....native-instruments-k capabilities. The latest version includes improved algorithms, intuitive controls, and innovative creative tools designed to help you achieve professional-quality results effortlessly. Whether you are a beginner or an experienced producer, this software is perfect for refining your vocal tracks.
Step 1: Verify System Requirements
Before downloading AutoTune Bundle Pro X 2024, ensure that your computer meets the necessary system requirements. Visit the official website for detailed specifications and confirm that your operating system (Windows or macOS) is up to date to avoid any compatibility issues.
Step 2: Purchase or Subscribe
Visit the official AutoTune website or an authorized retailer to purchase or subscribe to AutoTune Bundle Pro X 2024. Various pricing plans are available, including one-time purchases and subscription options that offer regular updates and additional features.
Step 3: Download the Installer
After completing your purchase or subscription, you will receive a download link via email or on the website. Click the link to download the installer file, typically a .exe for Windows or a .dmg for macOS. Ensure you have a stable internet connection to prevent interruptions during the download process.
Step 4: Install AutoTune Bundle Pro X 2024
Locate the downloaded installer file on your computer and double-click to run it. Follow the on-screen instructions to complete the installation process. You may need to enter your purchase or subscription details to activate the software during installation.
Step 5: Configure Your DAW
Open your Digital Audio Workstation (DAW) and verify that it recognizes the newly installed AutoTune plugins. Most DAWs, such as Ableton Live, Logic Pro, and FL Studio, will automatically scan for new plugins. If not, you may need to manually add the plugin folder in your DAW's preferences.
Step 6: Explore AutoTune Features
With AutoTune Bundle Pro X 2024 installed, you can begin using it on your vocal tracks. Experiment with various presets, adjust the pitch correction settings, and explore the creative vocal effects to achieve the perfect sound for your music.
